Why Website Loading Speed Matters
In today's fast-paced digital world, website loading speed is no longer just a technical detail; it's a critical factor that directly impacts user experience, search engine rankings, and ultimately, your bottom line. Users expect websites to load quickly and seamlessly. If your site is slow, visitors are likely to abandon it, leading to lost opportunities and a negative brand perception. Search engines like Google also prioritize fast-loading websites, rewarding them with higher rankings in search results. Therefore, optimizing your website's loading speed is an essential investment for success.
Measuring Your Website's Speed
Before diving into optimization techniques, it's crucial to understand your website's current loading speed. Several free and reliable tools are available to help you assess your site's performance. Here are a few popular options:
- Google PageSpeed Insights: This tool provides a detailed analysis of your website's performance on both mobile and desktop devices, offering specific recommendations for improvement.
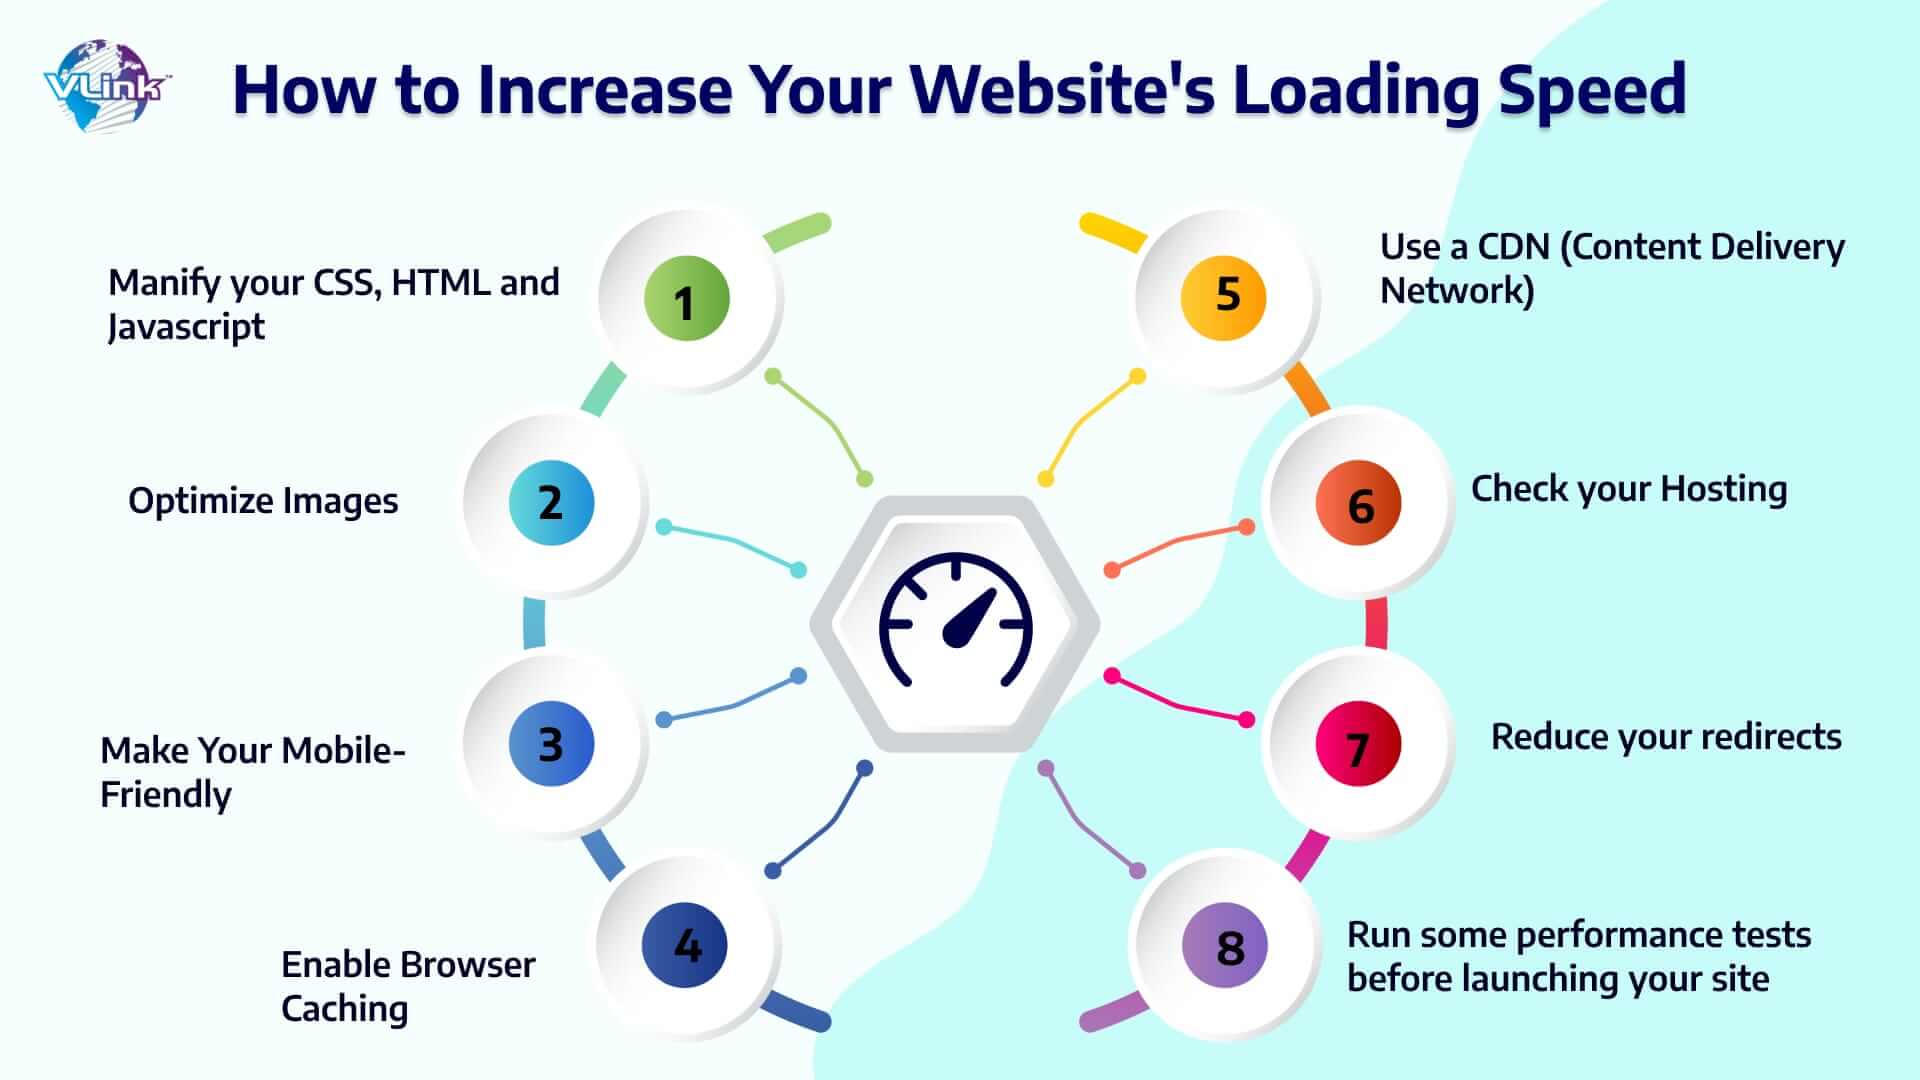
- GTmetrix: GTmetrix offers comprehensive performance reports, including detailed waterfall charts, performance scores, and actionable insights.
- WebPageTest: WebPageTest allows you to test your website's speed from various locations and browsers, providing valuable data on different performance metrics.
These tools will give you a baseline understanding of your website's loading speed and identify areas that need attention. Pay close attention to metrics like First Contentful Paint (FCP), Largest Contentful Paint (LCP), and Time to Interactive (TTI), as these are important indicators of user experience.
Optimizing Images for Faster Loading
Images often contribute significantly to a website's overall size, making them a prime target for optimization. Large, unoptimized images can dramatically slow down your website's loading speed. Here's how to optimize your images effectively:
Choose the Right Image Format
Different image formats are suited for different purposes. Here's a quick guide:
- JPEG: Ideal for photographs and complex images with many colors. JPEGs offer good compression rates, but they can lose some quality during compression.
- PNG: Best for images with transparency, logos, and graphics with sharp lines and text. PNGs offer lossless compression, preserving image quality but resulting in larger file sizes than JPEGs.
- WebP: A modern image format that offers superior compression and quality compared to JPEG and PNG. WebP is supported by most modern browsers.
- SVG: Use SVG for logos, icons, and simple vector graphics. SVGs are scalable and don't lose quality when resized.
Compress Images Without Losing Quality
Image compression reduces the file size of images without significantly affecting their visual quality. Several online tools and software programs can help you compress images. Some popular options include:
- TinyPNG/TinyJPEG: These online tools use intelligent lossy compression techniques to reduce the file size of PNG and JPEG images.
- ImageOptim: A free, open-source image optimization tool for Mac users.
- ShortPixel: A WordPress plugin that automatically optimizes images as they are uploaded to your website.
Resize Images to the Appropriate Dimensions
Avoid using images that are larger than necessary. Resize images to the exact dimensions required for their intended display on your website. Using images that are significantly larger than needed wastes bandwidth and slows down loading times.
Use Lazy Loading for Images
Lazy loading is a technique that delays the loading of images until they are about to come into view. This can significantly improve initial page load times, especially for websites with many images. You can implement lazy loading using JavaScript or by using a WordPress plugin.
Minifying HTML, CSS, and JavaScript
Minification is the process of removing unnecessary characters from your HTML, CSS, and JavaScript code, such as whitespace, comments, and line breaks. This reduces the file size of your code, leading to faster loading times.
How to Minify Code
Several online tools and build processes can help you minify your code. Some popular options include:
- UglifyJS: A JavaScript parser, mangler, and compressor toolkit.
- CSSNano: A modular CSS minifier.
- HTML Minifier: An online tool for minifying HTML code.
- Autoptimize (WordPress Plugin): A popular WordPress plugin that can minify HTML, CSS, and JavaScript files.
By minifying your code, you can significantly reduce the size of your website's files, leading to faster loading times.
Leveraging Browser Caching
Browser caching allows browsers to store static resources, such as images, CSS files, and JavaScript files, on the user's computer. When a user revisits your website, the browser can retrieve these resources from its cache instead of downloading them from your server again, resulting in faster loading times.
How to Implement Browser Caching
You can implement browser caching by setting appropriate HTTP headers in your server configuration. The `Cache-Control` header is the most important header for controlling browser caching. Here are some common `Cache-Control` directives:
- max-age: Specifies the maximum time (in seconds) that a resource can be cached.
- public: Indicates that the resource can be cached by both the browser and any intermediate caches, such as CDNs.
- private: Indicates that the resource can only be cached by the browser.
- no-cache: Indicates that the resource should not be cached.
You can also use the `.htaccess` file (for Apache servers) or your server's configuration file to set these headers. Many WordPress caching plugins also provide features for configuring browser caching.
Choosing a Good Web Hosting Provider
Your web hosting provider plays a crucial role in your website's loading speed. A slow or unreliable hosting provider can significantly impact your website's performance, regardless of how well you optimize your code and images.
Factors to Consider When Choosing a Web Hosting Provider
- Server Location: Choose a hosting provider with servers located in a region close to your target audience.
- Server Resources: Ensure that your hosting plan provides sufficient server resources, such as CPU, RAM, and bandwidth, to handle your website's traffic.
- Server Technology: Look for hosting providers that use modern server technologies, such as SSD storage and caching mechanisms.
- Uptime Guarantee: Choose a hosting provider with a high uptime guarantee (e.g., 99.9%).
- Customer Support: Ensure that the hosting provider offers reliable and responsive customer support.
Consider upgrading to a faster hosting plan or switching to a different hosting provider if your current hosting is hindering your website's performance.
Using a Content Delivery Network (CDN)
A Content Delivery Network (CDN) is a network of servers distributed across multiple geographic locations. When a user visits your website, the CDN serves the website's content from the server closest to the user's location, reducing latency and improving loading speed.
Benefits of Using a CDN
- Faster Loading Times: CDNs reduce latency by serving content from servers closer to users.
- Improved Uptime: CDNs can help improve website uptime by distributing traffic across multiple servers.
- Reduced Server Load: CDNs offload traffic from your origin server, reducing server load and improving performance.
- Enhanced Security: CDNs can provide security features, such as DDoS protection and web application firewalls.
Popular CDN providers include Cloudflare, Akamai, and Amazon CloudFront. Integrating a CDN into your website is a relatively simple process and can significantly improve your website's loading speed, especially for websites with a global audience.
Reducing HTTP Requests
Each element on your website, such as images, CSS files, and JavaScript files, requires an HTTP request to be downloaded from the server. The more HTTP requests your website makes, the longer it takes to load. Reducing the number of HTTP requests can significantly improve your website's loading speed.
Techniques for Reducing HTTP Requests
- Combine CSS and JavaScript Files: Combine multiple CSS and JavaScript files into single files to reduce the number of HTTP requests.
- Use CSS Sprites: Combine multiple small images into a single image sprite and use CSS to display the desired portion of the sprite.
- Inline Critical CSS: Inline the CSS required for above-the-fold content directly into the HTML file to avoid render-blocking CSS.
- Reduce the Number of Images: Minimize the number of images on your website and use CSS instead of images for simple visual elements.
By reducing the number of HTTP requests, you can significantly improve your website's loading speed.
Keep Your Website Software Updated
Using outdated software, such as your CMS (Content Management System), themes, and plugins, can negatively impact your website's performance and security. Software updates often include performance improvements and security patches that can improve your website's loading speed and protect it from vulnerabilities.
Best Practices for Keeping Software Updated
- Enable Automatic Updates: If possible, enable automatic updates for your CMS, themes, and plugins.
- Regularly Check for Updates: Regularly check for updates and install them promptly.
- Test Updates on a Staging Environment: Before installing updates on your live website, test them on a staging environment to ensure that they don't cause any compatibility issues.
Keeping your website software updated is a crucial step in maintaining its performance and security.