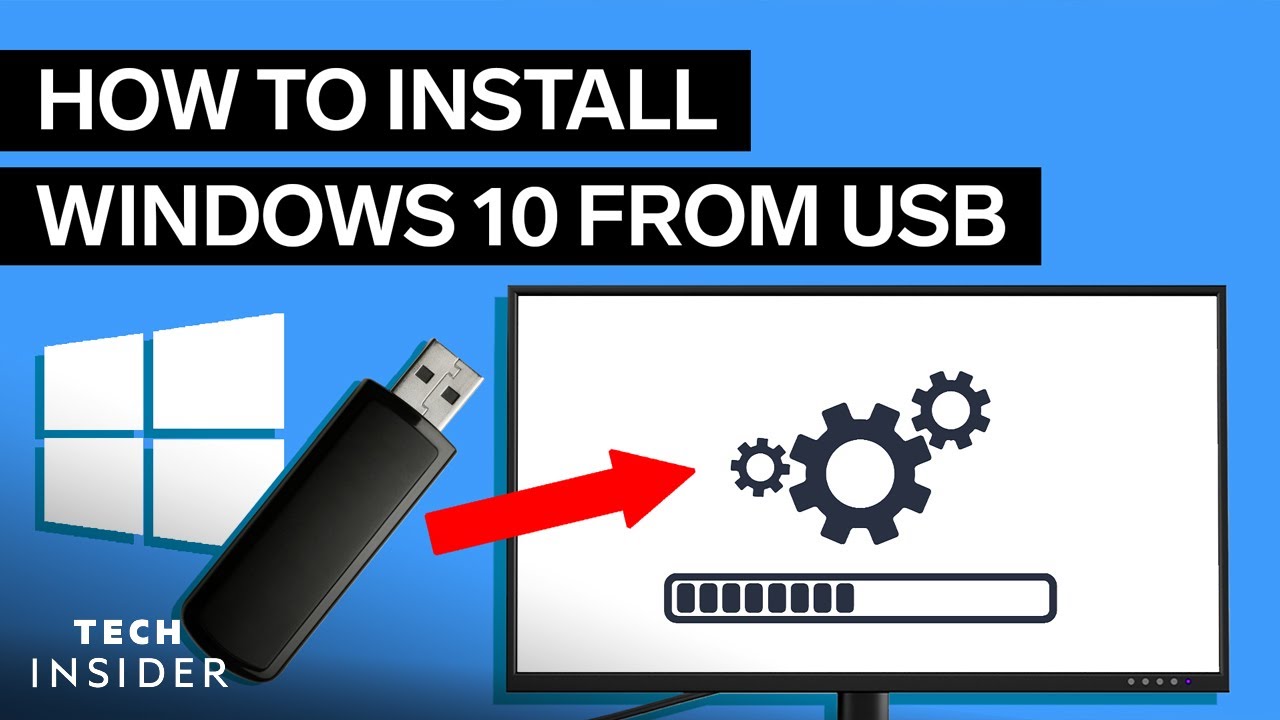
Introduction: Why Install Windows 10 from a USB Drive?
Installing Windows 10 from a USB drive is a versatile and often faster method compared to using a DVD. It’s especially useful if your computer doesn’t have an optical drive or if you prefer a more portable solution. A USB installation also allows for a clean install, which can resolve many software issues and improve your computer's performance. This guide provides a detailed, step-by-step approach to successfully installing Windows 10 from a USB drive.
Prerequisites: What You Need Before You Begin
Before you start the installation process, ensure you have the following:
- A USB Drive: At least 8GB in size. Make sure it's empty, as the process will erase all data on the drive.
- A Windows 10 ISO File: Download the official ISO file from Microsoft's website.
- A Computer: The computer you want to install Windows 10 on.
- A Stable Internet Connection: Needed for downloading the ISO file and drivers.
- Your Windows 10 Product Key: If you have one, keep it handy.
Step 1: Downloading the Windows 10 ISO File
The first step is to download the official Windows 10 ISO file from Microsoft. Here's how:
- Go to the Microsoft Windows 10 download page.
- Under "Create Windows 10 installation media," click "Download tool now."
- Run the Media Creation Tool.
- Accept the license terms.
- Select "Create installation media (USB flash drive, DVD, or ISO file) for another PC."
- Choose the language, edition, and architecture (32-bit or 64-bit) for Windows 10. If you're unsure, select "Use the recommended options for this PC."
- Select "ISO file."
- Choose a location to save the ISO file.
- Wait for the download to complete.
This process may take some time depending on your internet speed.
Step 2: Creating a Bootable USB Drive
Now that you have the Windows 10 ISO file, you need to create a bootable USB drive. You can use various tools for this, but Rufus is a popular and reliable option.
Using Rufus to Create a Bootable USB Drive
- Download Rufus from its official website: Rufus.ie.
- Run Rufus.
- Under "Device," select your USB drive.
- Under "Boot selection," click "SELECT" and choose the Windows 10 ISO file you downloaded.
- Ensure "Partition scheme" is set to "MBR" for older systems or "GPT" for newer systems. If you're unsure, try MBR first. You can determine your partition scheme in Disk Management (search for "Disk Management" in Windows).
- Leave the other settings at their defaults.
- Click "START."
- A warning message will appear stating that all data on the USB drive will be destroyed. Click "OK" to continue.
- Wait for Rufus to complete the process. This may take several minutes.
- Once finished, click "CLOSE."
Your USB drive is now bootable with Windows 10.
Step 3: Backing Up Your Data (Important!)
Before proceeding with the installation, it's crucial to back up all your important data. The installation process will erase the data on the drive where you install Windows 10. Back up your documents, photos, videos, and any other important files to an external hard drive, cloud storage, or another safe location.
Step 4: Booting from the USB Drive
To install Windows 10 from the USB drive, you need to boot your computer from it. Here's how:
- Insert the bootable USB drive into your computer.
- Restart your computer.
- As your computer starts, press the key to enter the Boot Menu or BIOS settings. This key varies depending on your computer manufacturer, but common keys include F2, F12, Delete, Esc, or F10. Refer to your computer's manual or the manufacturer's website for the correct key.
- In the Boot Menu, select your USB drive as the boot device.
- If you can't find your USB drive in the Boot Menu, you may need to change the boot order in the BIOS settings. Navigate to the "Boot" section and prioritize your USB drive.
- Save the changes and exit the BIOS settings. Your computer will restart and boot from the USB drive.
Step 5: Installing Windows 10
Once your computer boots from the USB drive, the Windows 10 installation process will begin.
- Select your language, time and currency format, and keyboard or input method. Click "Next."
- Click "Install now."
- If you have a product key, enter it. If you're reinstalling Windows 10 on a computer that was previously activated, you can skip this step by clicking "I don't have a product key."
- Select the version of Windows 10 you want to install. Choose the version that corresponds to your product key or the version you previously had installed. Click "Next."
- Accept the license terms. Click "Next."
- Choose the type of installation. If you want to perform a clean install, select "Custom: Install Windows only (advanced)."
- Select the drive where you want to install Windows 10. If you're performing a clean install, you may want to delete existing partitions to create a clean slate. Be absolutely sure you have backed up all data if you choose to delete partitions.
- Click "New" to create a new partition. Adjust the size of the partition as needed.
- Select the partition you want to install Windows 10 on and click "Next."
- The installation process will begin. Your computer will restart several times during the process.
- Wait for the installation to complete. This may take some time.
Step 6: Completing the Setup
After the installation is complete, Windows 10 will restart and guide you through the final setup steps.
- Select your region.
- Choose your keyboard layout.
- Connect to a network (optional).
- Choose whether to set up for personal use or an organization.
- Create a user account or sign in with your Microsoft account.
- Configure your privacy settings.
- Wait for Windows to finalize the setup.
Step 7: Installing Drivers
Once Windows 10 is installed, you need to install the necessary drivers for your hardware to function correctly. Windows Update will automatically install some drivers, but you may need to manually install others, especially for your graphics card, sound card, and network adapter.
- Go to your computer manufacturer's website and download the latest drivers for your model.
- Install the drivers one by one, following the on-screen instructions.
- Restart your computer after installing the drivers.
Step 8: Activating Windows 10
If you skipped entering your product key during the installation process, you need to activate Windows 10 now.
- Go to Settings > Update & Security > Activation.
- Click "Change product key" and enter your product key.
- Click "Activate."
Your Windows 10 installation is now activated.